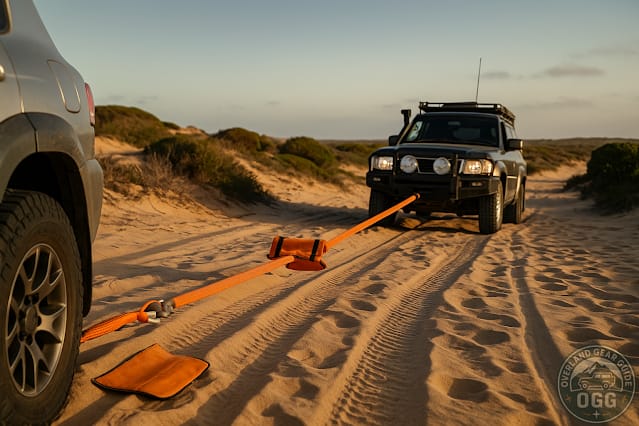
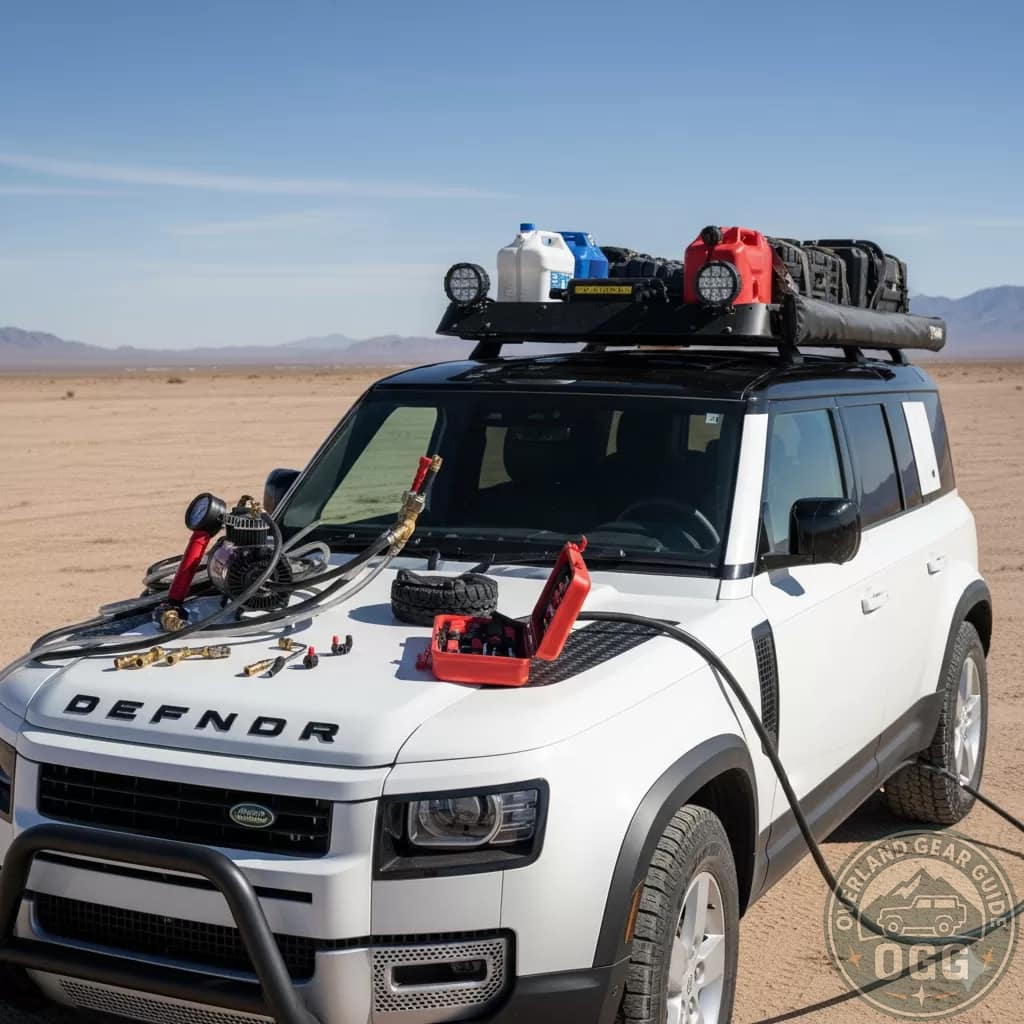
Field-Tested Overland Gear Reviews & 4×4 Guides.
“Welcome to Overland Gear Guide, your resource for field-tested Overland Gear Reviews and practical 4×4 advice. We get our hands dirty testing everything from roof racks and recovery kits to tires and navigation systems. We provide no-fluff, practical recommendations based on real-world use. Our Overland gear reviews and skill guides are designed to give you the confidence you need to get home safely.”
Learn real-world 4×4 recovery skills – then put them to work on the trail.
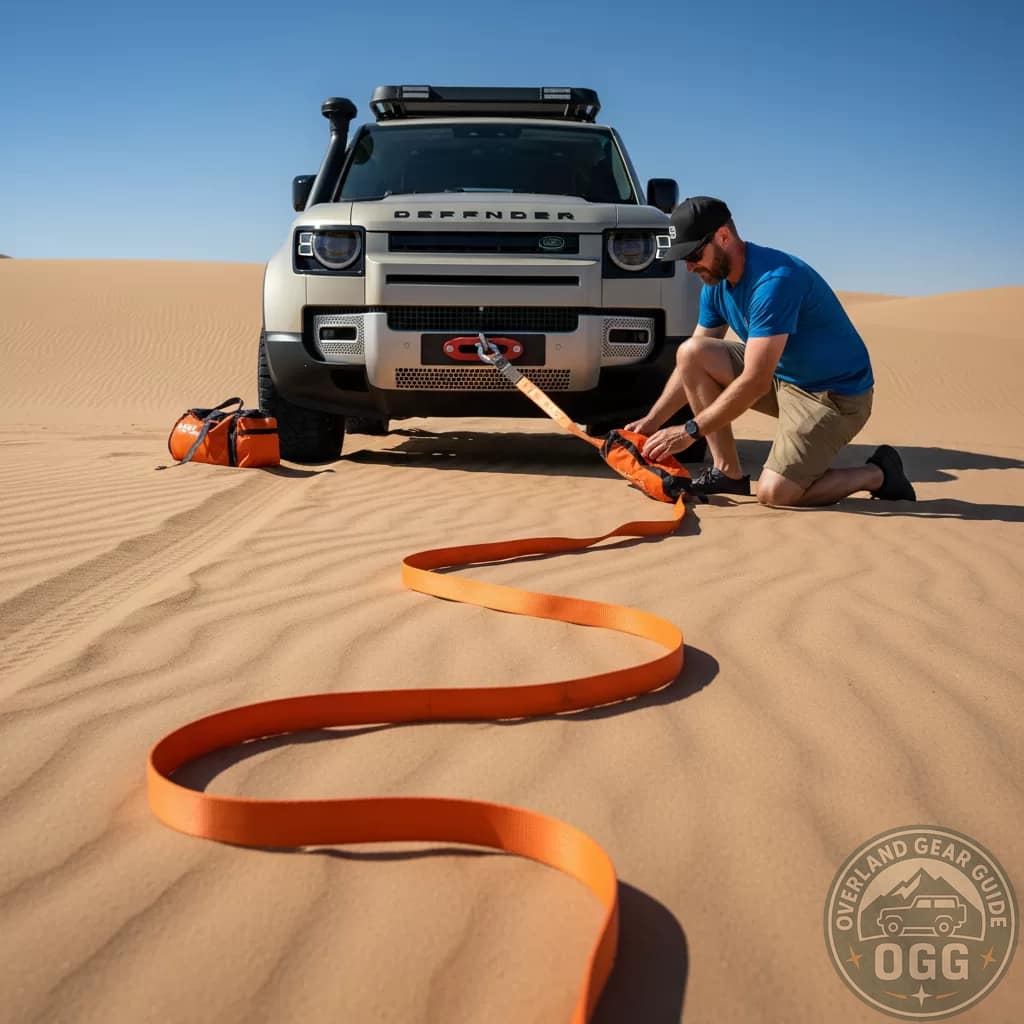
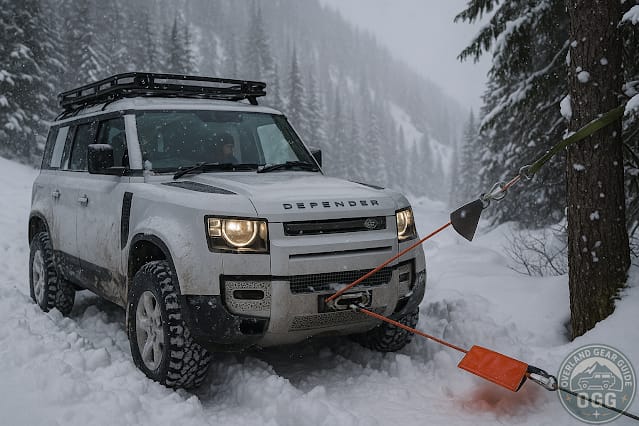
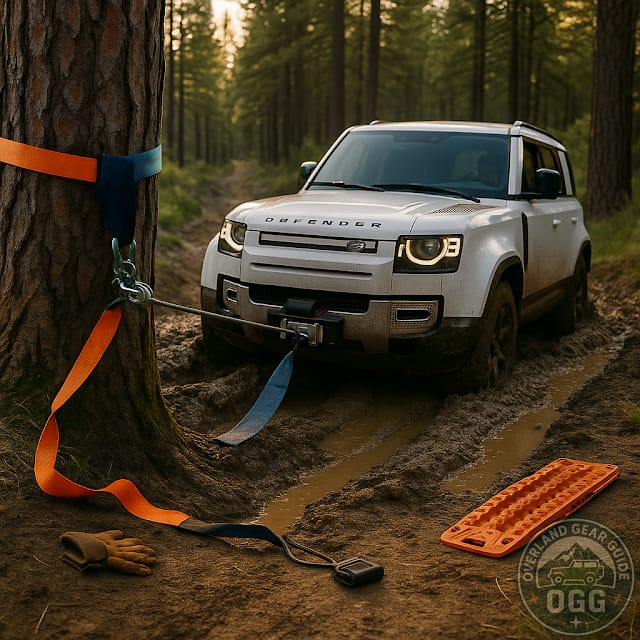
Recovery 101 is our free, guided course that walks you through modern recovery gear, safe techniques and on-trail decision making. Short, focused lessons you can watch in one sitting – then practice in a safe environment before heading remote.
- Understand forces, weak links and safe working loads.
- Learn how to rig and de-rig modern recovery setups.
- Plan recoveries on trips and work as a calm, effective team.
Course structure & lessons

Understanding Recovery Loads
Get your head around forces, weak links and why some setups are sketchy before you even pull.
View lesson
Core Recovery Gear
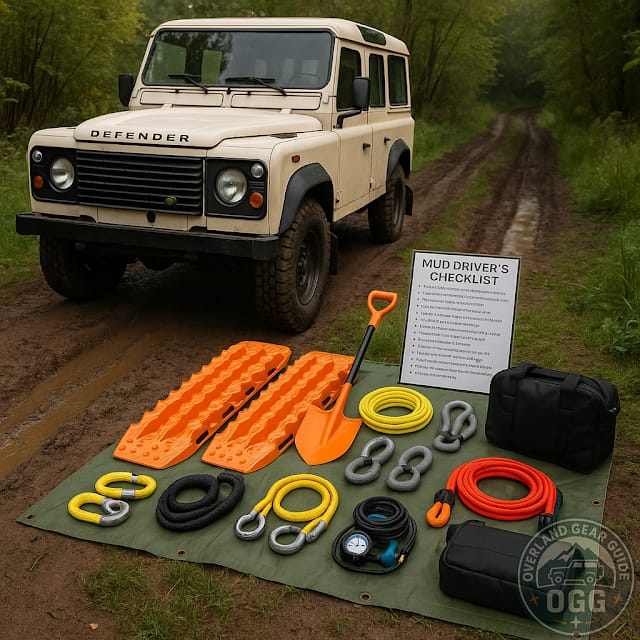
Walk through modern recovery gear, how it works and how to rig it safely for real trips.
View lesson
Self-Recovery Fundamentals
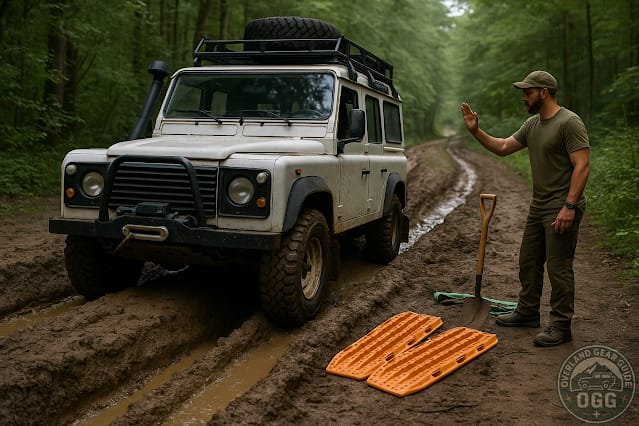
Learn how to dig, board and re-position your way out before calling in another vehicle.
View lesson
Kinetic Recovery Basics
Build a safer workflow for snatch recoveries with clear roles, anchors and communication.
View lesson
Planning Recoveries on Trips
Connect recovery skills to real routes, group roles and the Expedition Planner workflow.
View lesson
Course Wrap-Up & Free eBook
Lock in the key concepts, complete your checklist and unlock your free recovery eBook.
View courseAsk Rusty a quick question
Use the chat below to talk directly to Rusty, your Overland Skills Coach. Ask about the Recovery 101 course, basic recovery gear or planning your next overland trip – and mention your vehicle and terrain for more tailored advice.
Safety reminder: include details like your vehicle, tyre size, terrain and experience level so Rusty can tailor the advice — then always test new techniques in low-risk environments, follow local laws and respect manufacturer guidance before heading remote.
Fresh Off The Trail: Explore Our Latest Overland Gear Reviews
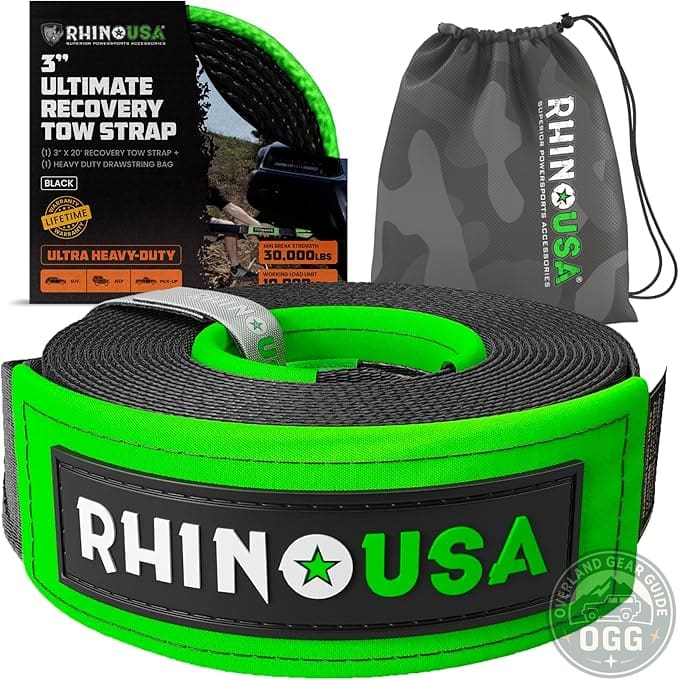
Rhino USA Recovery Tow Strap Review
The Rhino USA Recovery Tow Strap offers a robust 31,518 lb break strength with triple-reinforced loops, perfect for controlled, static pulling tasks.

MAXTRAX MKII Recovery Boards Review — The Original Traction Benchmark
MAXTRAX MKII Recovery Boards set the standard for traction with durable Australian-made construction and quick deployment.
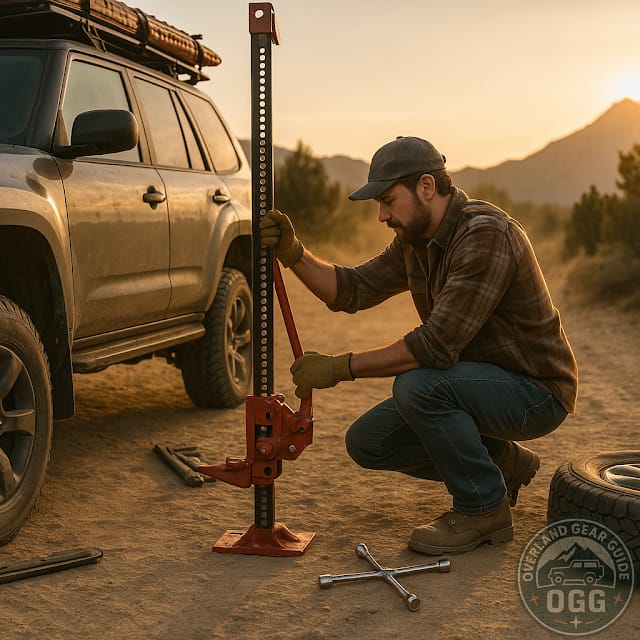
High-Lift Jack Review: Lift, Winch & Clamp Safely (Pro Tips)
Discover how a high-lift jack serves as an indispensable trail-side multi-tool for lifting, winching, and clamping safely.

Overland Vehicle Systems Nomadic 3 Roof Top Tent Review
Discover why the Overland Vehicle Systems Nomadic 3 Roof Top Tent is a top choice for year-round adventurers seeking durability and comfort.

Front Runner – D 90 Roof Rack Review
Discover how the Front Runner D 90 Roof Rack transforms your Defender 90 with modular versatility and rugged durability.

Front Runner Wolf Pack Pro Review: Stackable Overland Boxes
Discover why the Front Runner Wolf Pack Pro is the ultimate modular storage solution for overland adventurers.
Explore by Category
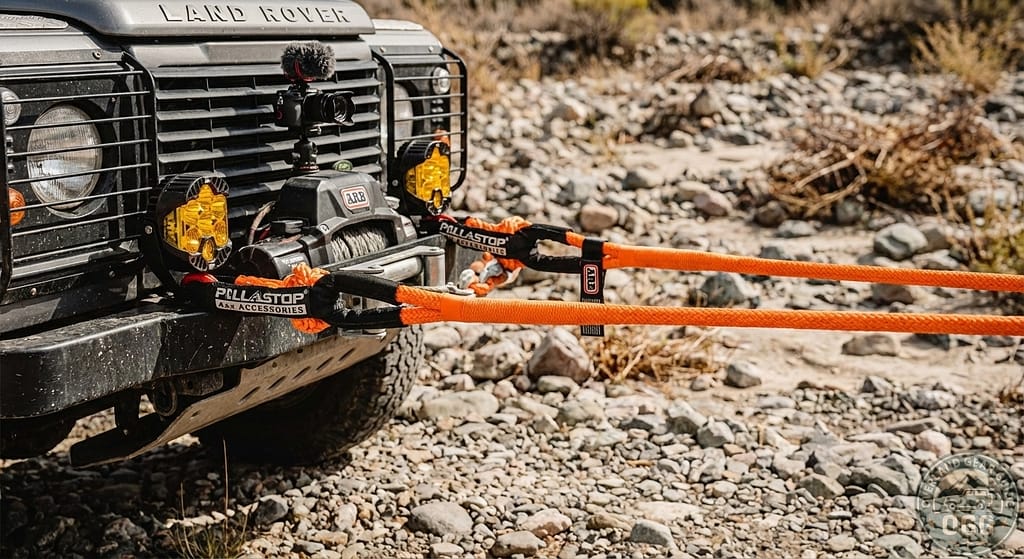
Why Soft Shackles Should Be Your First Choice in Off-Road Recovery
Soft shackles are redefining off‑road recovery with lighter weight, safer performance, and greater versatility than traditional steel hardware.

The Silk Road & Siberia: A Guide to Asia’s Overlanding Routes
Explore the legendary Silk Road and Siberian trails, turning epic overland adventures into achievable journeys with expert route insights.

Overlanding Australasia: A Guide to Australia & New Zealand’s Top Routes
Discover the ultimate guide to overlanding Australia and New Zealand's most iconic routes, from desert trails to alpine rivers.

The Old World Off-Road: A Guide to Europe’s Top Overlanding Routes
Discover Europe’s top overlanding routes where you can cross multiple countries and cultures in a single day.

Expedition Africa: A Deep-Dive Guide to the Top Overlanding Routes
Discover the ultimate overlanding routes in Africa, from Cairo’s bustling cityscape to Cape Town’s stunning coastline.

The Ultimate Guide to South America’s Top Overlanding Routes: Planning, Waypoints & Intel
Discover the ultimate overlanding routes across South America’s diverse landscapes, from Andes peaks to Amazon jungles.
What Do You Need Help With?

Field-Tested Overland Gear Reviews
No-hype reviews of gear we’ve personally put to the test. Find out what’s worth your money.
Practical Off-Road Skills
Master every terrain. Get practical, step-by-step guides for sand, mud, water, and rocks.
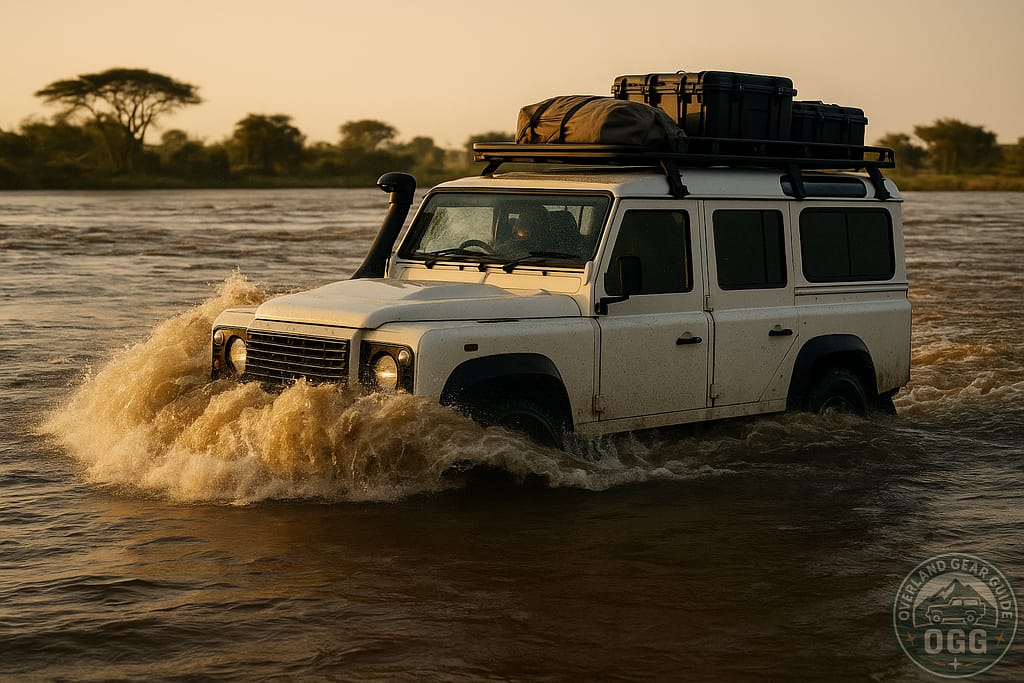

Recovery & Safety Guides
Safety first, reliability always. Learn the essential recovery techniques that will get you home safe.
About Colin Tandy
Tired of the hype? I built this site because I’m a gear-obsessed overlander who’s spent enough time and money to know what actually works. Here, you’ll find field-tested overland gear reviews, no-fluff how-tos, and trail-ready checklists designed to help you build a smarter, safer rig without wasting a dime. Let’s skip the garage-full-of-regret and build something truly capable.
Frequently Asked Questions: Overland Gear Reviews
What are Overland Gear Reviews?
Overland Gear Reviews are real-world evaluations of 4×4 recovery equipment, tyre deflators, rooftop tents, winches, lighting, navigation tools and more—tested in genuine overlanding conditions, not just lab specs.
Are your gear reviews based on real-world testing?
Yes. Every review on Overland Gear Guide is based on hands-on testing in real overlanding environments—mud, sand, snow, rivers, and technical terrain. We only publish findings after field use, not unboxing impressions.
What gear categories do you cover?
Our reviews span recovery gear, roof racks, rooftop tents, lighting systems, navigation units, tyre accessories, 4×4 tools, safety equipment, and more.
Where can I learn proper vehicle recovery techniques?
Safe 4×4 recovery is essential. For proper training, we recommend reviewing international standards from the I4WDTA (International 4WD Trainers Association) , one of the most respected off-road training bodies worldwide.
Overlanding & 4wd Accessories
Shop our curated store of field-tested 4×4, camping, and recovery gear
[{"id":1634,"link":"https:\/\/overland-gear-guide.com\/arb-premium-4x4-off-road-recovery-kit\/","name":"arb-premium-4x4-off-road-recovery-kit","thumbnail":{"url":"https:\/\/mlc9rw1fhsn0.i.optimole.com\/cb:61KV.55b\/w:1500\/h:922\/q:mauto\/g:sm\/f:best\/https:\/\/overland-gear-guide.com\/wp-content\/uploads\/2025\/11\/81kWI82y9L._AC_SL1500_.jpg","alt":"4x4 Off-Road Recovery Kit"},"title":"ARB RK9A Premium 4x4 Off-Road Recovery Kit | Winch & Snatch Gear Bundle","postMeta":[],"author":{"name":"Overland Gear Guide","link":"https:\/\/overland-gear-guide.com\/author\/admin\/"},"date":"Nov 21, 2025","dateGMT":"2025-11-21 21:07:44","modifiedDate":"2025-11-21 21:24:42","modifiedDateGMT":"2025-11-21 21:24:42","commentCount":"5","commentStatus":"open","categories":{"coma":"","space":""},"taxonomies":{"product_brand":"<a href='https:\/\/overland-gear-guide.com\/brand\/arb\/' rel='product_brand'>ARB<\/a>","product_type":"<a href='https:\/\/overland-gear-guide.com\/?taxonomy=product_type&term=external' rel='product_type'>external<\/a>","product_visibility":"<a href='https:\/\/overland-gear-guide.com\/?taxonomy=product_visibility&term=rated-5' rel='product_visibility'>rated-5<\/a>","product_cat":"<a href='https:\/\/overland-gear-guide.com\/recovery-gear\/' rel='product_cat'>Recovery Gear<\/a>","product_tag":"","product_shipping_class":""},"readTime":{"min":2,"sec":27},"status":"publish","excerpt":"Conquer any off-road challenge with the ARB Premium\u00a04X4 Off-Road Recovery Kit. This comprehensive 4x4 kit includes snatch strap, winch extension, snatch block, damper, gloves, and shackles, all in an upgraded recovery bag. Your ultimate off-road adventure starts here!"},{"id":1621,"link":"https:\/\/overland-gear-guide.com\/rhino-usa-super-d-ring-shackles\/","name":"rhino-usa-super-d-ring-shackles","thumbnail":{"url":"https:\/\/mlc9rw1fhsn0.i.optimole.com\/cb:61KV.55b\/w:1500\/h:1443\/q:mauto\/g:sm\/f:best\/https:\/\/overland-gear-guide.com\/wp-content\/uploads\/2025\/11\/81mOkkWb3L._AC_SL1500_.jpg","alt":"Rhino USA Super D Ring Shackles"},"title":"Rhino USA Super D Ring Shackles (2-Pack) - 70,548lb Break Strength","postMeta":[],"author":{"name":"Overland Gear Guide","link":"https:\/\/overland-gear-guide.com\/author\/admin\/"},"date":"Nov 21, 2025","dateGMT":"2025-11-21 20:48:26","modifiedDate":"2025-11-21 20:57:10","modifiedDateGMT":"2025-11-21 20:57:10","commentCount":"10","commentStatus":"open","categories":{"coma":"","space":""},"taxonomies":{"product_brand":"<a href='https:\/\/overland-gear-guide.com\/brand\/rhino-usa\/' rel='product_brand'>Rhino USA<\/a>","product_type":"<a href='https:\/\/overland-gear-guide.com\/?taxonomy=product_type&term=external' rel='product_type'>external<\/a>","product_visibility":"<a href='https:\/\/overland-gear-guide.com\/?taxonomy=product_visibility&term=rated-5' rel='product_visibility'>rated-5<\/a>","product_cat":"<a href='https:\/\/overland-gear-guide.com\/recovery-gear\/' rel='product_cat'>Recovery Gear<\/a>","product_tag":"","product_shipping_class":""},"readTime":{"min":1,"sec":56},"status":"publish","excerpt":"Conquer any recovery with Rhino USA Super D Ring Shackles! This 2-pack boasts a massive 70,548lb break strength, includes noise-reducing isolators, and fits most aftermarket bumpers. Lifetime replacement guarantee"},{"id":1610,"link":"https:\/\/overland-gear-guide.com\/heavy-duty-2-shackle-hitch-receiver\/","name":"heavy-duty-2-shackle-hitch-receiver","thumbnail":{"url":"https:\/\/mlc9rw1fhsn0.i.optimole.com\/cb:61KV.55b\/w:1458\/h:1449\/q:mauto\/g:sm\/f:best\/https:\/\/overland-gear-guide.com\/wp-content\/uploads\/2025\/11\/71Wxku3vs4L._AC_SL1500_.jpg","alt":"Heavy Duty 2\" Shackle Hitch Receiver Kit"},"title":"Heavy Duty 2\" Shackle Hitch Receiver Kit | 68,000 Lbs Off-Road Recovery","postMeta":[],"author":{"name":"Overland Gear Guide","link":"https:\/\/overland-gear-guide.com\/author\/admin\/"},"date":"Nov 21, 2025","dateGMT":"2025-11-21 19:58:45","modifiedDate":"2025-11-21 20:10:55","modifiedDateGMT":"2025-11-21 20:10:55","commentCount":"10","commentStatus":"open","categories":{"coma":"","space":""},"taxonomies":{"product_brand":"<a href='https:\/\/overland-gear-guide.com\/brand\/autmatch\/' rel='product_brand'>AutMatch<\/a>","product_type":"<a href='https:\/\/overland-gear-guide.com\/?taxonomy=product_type&term=external' rel='product_type'>external<\/a>","product_visibility":"<a href='https:\/\/overland-gear-guide.com\/?taxonomy=product_visibility&term=rated-5' rel='product_visibility'>rated-5<\/a>","product_cat":"<a href='https:\/\/overland-gear-guide.com\/recovery-gear\/' rel='product_cat'>Recovery Gear<\/a>","product_tag":"","product_shipping_class":""},"readTime":{"min":2,"sec":18},"status":"publish","excerpt":"Get ready for any off-road challenge with our heavy-duty 2\" shackle hitch receiver kit. Features a 3\/4\" D-ring shackle, lock pin, and 68,000 lbs break strength for reliable vehicle recovery. Galvanized & powder coated for ultimate durability."},{"id":1570,"link":"https:\/\/overland-gear-guide.com\/rhino-usa-synthetic-soft-shackle-rope\/","name":"rhino-usa-synthetic-soft-shackle-rope","thumbnail":{"url":"https:\/\/mlc9rw1fhsn0.i.optimole.com\/cb:61KV.55b\/w:1489\/h:1500\/q:mauto\/g:sm\/f:best\/https:\/\/overland-gear-guide.com\/wp-content\/uploads\/2025\/11\/81lfx7XYcPL._AC_SL1500_.jpg","alt":"Rhino USA Synthetic Soft Shackle Rope (2-Pack)"},"title":"Rhino USA Synthetic Soft Shackle Rope (2-Pack) - 3\/8 Inch x 22 Inch (31,400lb Min Break Strength)","postMeta":[],"author":{"name":"Overland Gear Guide","link":"https:\/\/overland-gear-guide.com\/author\/admin\/"},"date":"Nov 20, 2025","dateGMT":"2025-11-20 18:37:22","modifiedDate":"2025-11-20 19:36:57","modifiedDateGMT":"2025-11-20 19:36:57","commentCount":"10","commentStatus":"open","categories":{"coma":"","space":""},"taxonomies":{"product_brand":"<a href='https:\/\/overland-gear-guide.com\/brand\/rhino-usa\/' rel='product_brand'>Rhino USA<\/a>","product_type":"<a href='https:\/\/overland-gear-guide.com\/?taxonomy=product_type&term=external' rel='product_type'>external<\/a>","product_visibility":"<a href='https:\/\/overland-gear-guide.com\/?taxonomy=product_visibility&term=rated-5' rel='product_visibility'>rated-5<\/a>","product_cat":"<a href='https:\/\/overland-gear-guide.com\/recovery-gear\/' rel='product_cat'>Recovery Gear<\/a>","product_tag":"<a href='https:\/\/overland-gear-guide.com\/product-tag\/4x4-essentials\/' rel='product_tag'>4x4 essentials<\/a><a href='https:\/\/overland-gear-guide.com\/product-tag\/jeep-recovery\/' rel='product_tag'>Jeep recovery<\/a><a href='https:\/\/overland-gear-guide.com\/product-tag\/off-road-gear\/' rel='product_tag'>off-road gear<\/a><a href='https:\/\/overland-gear-guide.com\/product-tag\/rhino-usa\/' rel='product_tag'>Rhino USA<\/a><a href='https:\/\/overland-gear-guide.com\/product-tag\/soft-shackle\/' rel='product_tag'>soft shackle<\/a><a href='https:\/\/overland-gear-guide.com\/product-tag\/synthetic-rope\/' rel='product_tag'>synthetic rope<\/a><a href='https:\/\/overland-gear-guide.com\/product-tag\/vehicle-recovery\/' rel='product_tag'>vehicle recovery<\/a><a href='https:\/\/overland-gear-guide.com\/product-tag\/winching\/' rel='product_tag'>winching<\/a>","product_shipping_class":""},"readTime":{"min":2,"sec":5},"status":"publish","excerpt":"Experience the next generation of off\u2011road recovery with ultra\u2011strong, lightweight soft shackles built to outperform steel."},{"id":1481,"link":"https:\/\/overland-gear-guide.com\/warn-89120-zeon-12-winch-12000-lb\/","name":"warn-89120-zeon-12-winch-12000-lb","thumbnail":{"url":"https:\/\/mlc9rw1fhsn0.i.optimole.com\/cb:61KV.55b\/w:1403\/h:898\/q:mauto\/g:sm\/f:best\/https:\/\/overland-gear-guide.com\/wp-content\/uploads\/2025\/11\/71LyCHxLoL._AC_SL1500_.jpg","alt":"Warn 89120 ZEON 12 Winch"},"title":"Warn 89120 ZEON 12 Winch - 12,000 lb. Capacity with Wire Rope","postMeta":[],"author":{"name":"Overland Gear Guide","link":"https:\/\/overland-gear-guide.com\/author\/admin\/"},"date":"Nov 18, 2025","dateGMT":"2025-11-18 12:18:52","modifiedDate":"2025-11-18 14:17:39","modifiedDateGMT":"2025-11-18 14:17:39","commentCount":"11","commentStatus":"open","categories":{"coma":"","space":""},"taxonomies":{"product_brand":"<a href='https:\/\/overland-gear-guide.com\/brand\/warn-industries\/' rel='product_brand'>Warn Industries<\/a>","product_type":"<a href='https:\/\/overland-gear-guide.com\/?taxonomy=product_type&term=external' rel='product_type'>external<\/a>","product_visibility":"<a href='https:\/\/overland-gear-guide.com\/?taxonomy=product_visibility&term=rated-5' rel='product_visibility'>rated-5<\/a>","product_cat":"<a href='https:\/\/overland-gear-guide.com\/winches\/' rel='product_cat'>Winches<\/a>","product_tag":"<a href='https:\/\/overland-gear-guide.com\/product-tag\/000-lb-capacity\/' rel='product_tag'>000 lb capacity<\/a><a href='https:\/\/overland-gear-guide.com\/product-tag\/12\/' rel='product_tag'>12<\/a><a href='https:\/\/overland-gear-guide.com\/product-tag\/heavy-duty-winch\/' rel='product_tag'>heavy-duty winch<\/a><a href='https:\/\/overland-gear-guide.com\/product-tag\/mud-recovery\/' rel='product_tag'>mud recovery<\/a><a href='https:\/\/overland-gear-guide.com\/product-tag\/off-road-recovery\/' rel='product_tag'>off-road recovery<\/a><a href='https:\/\/overland-gear-guide.com\/product-tag\/overland-gear\/' rel='product_tag'>overland gear<\/a><a href='https:\/\/overland-gear-guide.com\/product-tag\/rock-crawling-equipment\/' rel='product_tag'>rock crawling equipment<\/a><a href='https:\/\/overland-gear-guide.com\/product-tag\/trail-winch\/' rel='product_tag'>trail winch<\/a><a href='https:\/\/overland-gear-guide.com\/product-tag\/warn-89120-zeon-12\/' rel='product_tag'>Warn 89120 ZEON 12<\/a><a href='https:\/\/overland-gear-guide.com\/product-tag\/wire-rope-winch\/' rel='product_tag'>wire rope winch<\/a>","product_shipping_class":""},"readTime":{"min":2,"sec":44},"status":"publish","excerpt":"Tackle the toughest terrain with the Warn 89120 ZEON 12, boasting a powerful 12,000 lb. pulling capacity designed for heavy-duty recovery."},{"id":1465,"link":"https:\/\/overland-gear-guide.com\/crossing-borders-the-overlanders-handbook\/","name":"crossing-borders-the-overlanders-handbook","thumbnail":{"url":"https:\/\/mlc9rw1fhsn0.i.optimole.com\/cb:61KV.55b\/w:938\/h:1500\/q:mauto\/g:sm\/f:best\/https:\/\/overland-gear-guide.com\/wp-content\/uploads\/2025\/11\/81sKP13z1AL._SL1500_.jpg","alt":"Crossing Borders: The Overland Traveler\u2019s Handbook (The Overland Expedition Series)"},"title":"Crossing Borders: The Overland Traveler\u2019s Handbook (The Overland Expedition Series)","postMeta":[],"author":{"name":"Overland Gear Guide","link":"https:\/\/overland-gear-guide.com\/author\/admin\/"},"date":"Nov 18, 2025","dateGMT":"2025-11-18 11:10:26","modifiedDate":"2025-11-18 11:10:29","modifiedDateGMT":"2025-11-18 11:10:29","commentCount":"0","commentStatus":"open","categories":{"coma":"","space":""},"taxonomies":{"product_brand":"<a href='https:\/\/overland-gear-guide.com\/brand\/overland-gear-guide\/' rel='product_brand'>Overland Gear Guide<\/a>","product_type":"<a href='https:\/\/overland-gear-guide.com\/?taxonomy=product_type&term=simple' rel='product_type'>simple<\/a>","product_visibility":"","product_cat":"<a href='https:\/\/overland-gear-guide.com\/ebooks\/' rel='product_cat'>Ebooks<\/a>","product_tag":"","product_shipping_class":""},"readTime":{"min":2,"sec":39},"status":"publish","excerpt":"Master international vehicle travel with Crossing Borders. The essential guide to customs, paperwork, and the Carnet de Passage for stress-free overlanding"},{"id":1453,"link":"https:\/\/overland-gear-guide.com\/overland-repair-recovery-ebook\/","name":"overland-repair-recovery-ebook","thumbnail":{"url":"https:\/\/mlc9rw1fhsn0.i.optimole.com\/cb:61KV.55b\/w:938\/h:1500\/q:mauto\/g:sm\/f:best\/https:\/\/overland-gear-guide.com\/wp-content\/uploads\/2025\/11\/81x8hu9DamL._SL1500_.jpg","alt":"Overland Repair & Recovery"},"title":"Overland Repair & Recovery: Field Maintenance for Long-Distance Adventurers","postMeta":[],"author":{"name":"Overland Gear Guide","link":"https:\/\/overland-gear-guide.com\/author\/admin\/"},"date":"Nov 18, 2025","dateGMT":"2025-11-18 09:54:59","modifiedDate":"2025-11-18 11:15:53","modifiedDateGMT":"2025-11-18 11:15:53","commentCount":"0","commentStatus":"open","categories":{"coma":"","space":""},"taxonomies":{"product_brand":"<a href='https:\/\/overland-gear-guide.com\/brand\/colin-tandy\/' rel='product_brand'>Colin Tandy<\/a><a href='https:\/\/overland-gear-guide.com\/brand\/overland-gear-guide\/' rel='product_brand'>Overland Gear Guide<\/a>","product_type":"<a href='https:\/\/overland-gear-guide.com\/?taxonomy=product_type&term=simple' rel='product_type'>simple<\/a>","product_visibility":"","product_cat":"<a href='https:\/\/overland-gear-guide.com\/ebooks\/' rel='product_cat'>Ebooks<\/a>","product_tag":"<a href='https:\/\/overland-gear-guide.com\/product-tag\/adventure-gear\/' rel='product_tag'>Adventure Gear<\/a><a href='https:\/\/overland-gear-guide.com\/product-tag\/emergency-preparedness\/' rel='product_tag'>emergency preparedness<\/a><a href='https:\/\/overland-gear-guide.com\/product-tag\/field-maintenance\/' rel='product_tag'>field maintenance<\/a><a href='https:\/\/overland-gear-guide.com\/product-tag\/long-distance-travel\/' rel='product_tag'>long-distance travel<\/a><a href='https:\/\/overland-gear-guide.com\/product-tag\/off-road-recovery\/' rel='product_tag'>off-road recovery<\/a><a href='https:\/\/overland-gear-guide.com\/product-tag\/overland\/' rel='product_tag'>overland<\/a><a href='https:\/\/overland-gear-guide.com\/product-tag\/vehicle-repair\/' rel='product_tag'>vehicle repair<\/a>","product_shipping_class":""},"readTime":{"min":2,"sec":54},"status":"publish","excerpt":"Discover essential overland repair techniques that keep your adventure rolling, no matter how remote the location."},{"id":1426,"link":"https:\/\/overland-gear-guide.com\/rhino-usa-rapid-tire-deflators\/","name":"rhino-usa-rapid-tire-deflators","thumbnail":{"url":"https:\/\/mlc9rw1fhsn0.i.optimole.com\/cb:61KV.55b\/w:1500\/h:1500\/q:mauto\/g:sm\/f:best\/https:\/\/overland-gear-guide.com\/wp-content\/uploads\/2025\/11\/9139K3Ug8wL._SL1500_.jpg","alt":"Rhino USA Rapid Tire Deflators with Gauge"},"title":"Rhino USA Rapid Tire Deflators w\/ Gauge (0-60psi) - Automatic Off-Road Air Down Tool for Jeep, Truck, ATV","postMeta":[],"author":{"name":"Overland Gear Guide","link":"https:\/\/overland-gear-guide.com\/author\/admin\/"},"date":"Nov 17, 2025","dateGMT":"2025-11-17 19:28:13","modifiedDate":"2025-11-17 19:40:24","modifiedDateGMT":"2025-11-17 19:40:24","commentCount":"10","commentStatus":"open","categories":{"coma":"","space":""},"taxonomies":{"product_brand":"<a href='https:\/\/overland-gear-guide.com\/brand\/rhino-usa\/' rel='product_brand'>Rhino USA<\/a>","product_type":"<a href='https:\/\/overland-gear-guide.com\/?taxonomy=product_type&term=external' rel='product_type'>external<\/a>","product_visibility":"<a href='https:\/\/overland-gear-guide.com\/?taxonomy=product_visibility&term=rated-4' rel='product_visibility'>rated-4<\/a>","product_cat":"<a href='https:\/\/overland-gear-guide.com\/tire-inflation-air-systems\/' rel='product_cat'>Tire Inflation & Air Systems<\/a>","product_tag":"<a href='https:\/\/overland-gear-guide.com\/product-tag\/4x4-modification\/' rel='product_tag'>4x4 modification<\/a><a href='https:\/\/overland-gear-guide.com\/product-tag\/air-pressure-gauge\/' rel='product_tag'>air pressure gauge<\/a><a href='https:\/\/overland-gear-guide.com\/product-tag\/atv-equipment\/' rel='product_tag'>ATV equipment<\/a><a href='https:\/\/overland-gear-guide.com\/product-tag\/jeep-accessories\/' rel='product_tag'>Jeep accessories<\/a><a href='https:\/\/overland-gear-guide.com\/product-tag\/off-road-adventures\/' rel='product_tag'>off-road adventures<\/a><a href='https:\/\/overland-gear-guide.com\/product-tag\/off-road-gear\/' rel='product_tag'>off-road gear<\/a><a href='https:\/\/overland-gear-guide.com\/product-tag\/rhino-usa\/' rel='product_tag'>Rhino USA<\/a><a href='https:\/\/overland-gear-guide.com\/product-tag\/tire-deflators\/' rel='product_tag'>tire deflators<\/a><a href='https:\/\/overland-gear-guide.com\/product-tag\/truck-tires\/' rel='product_tag'>truck tires<\/a>","product_shipping_class":""},"readTime":{"min":2,"sec":48},"status":"publish","excerpt":"Master off-road challenges with Rhino USA Rapid Tire Deflators that automatically adjust tire pressure from 0-60psi for optimal traction."},{"id":1329,"link":"https:\/\/overland-gear-guide.com\/ineos-grenadier-light-guards\/","name":"ineos-grenadier-light-guards","thumbnail":{"url":"https:\/\/mlc9rw1fhsn0.i.optimole.com\/cb:61KV.55b\/w:1500\/h:1500\/q:mauto\/g:sm\/f:best\/https:\/\/overland-gear-guide.com\/wp-content\/uploads\/2025\/11\/71JGVav0FsL._AC_SL1500_.jpg","alt":"INEOS Grenadier Light Guards"},"title":"INEOS Grenadier Light Guards (2020-2025) - Carbon Steel Lamp Protector Trim (6PC Matt Black Set)","postMeta":[],"author":{"name":"Overland Gear Guide","link":"https:\/\/overland-gear-guide.com\/author\/admin\/"},"date":"Nov 17, 2025","dateGMT":"2025-11-17 11:05:47","modifiedDate":"2025-11-17 11:14:56","modifiedDateGMT":"2025-11-17 11:14:56","commentCount":"2","commentStatus":"open","categories":{"coma":"","space":""},"taxonomies":{"product_brand":"<a href='https:\/\/overland-gear-guide.com\/brand\/qiosreui\/' rel='product_brand'>Qiosreui<\/a>","product_type":"<a href='https:\/\/overland-gear-guide.com\/?taxonomy=product_type&term=external' rel='product_type'>external<\/a>","product_visibility":"<a href='https:\/\/overland-gear-guide.com\/?taxonomy=product_visibility&term=rated-5' rel='product_visibility'>rated-5<\/a>","product_cat":"<a href='https:\/\/overland-gear-guide.com\/ineos-grenadier-accessories\/' rel='product_cat'>INEOS Grenadier Accessories<\/a>","product_tag":"","product_shipping_class":""},"readTime":{"min":2,"sec":28},"status":"publish","excerpt":"Custom-fit INEOS Grenadier Light Guards (2020-2025) made from durable carbon steel. This 6PC Matt Black set offers superior lamp protection from scratches & dents, while adding a sporty, customized look with easy 3M glue and screw installation."},{"id":1316,"link":"https:\/\/overland-gear-guide.com\/land-rover-all-terrain-shocks-coils\/","name":"land-rover-all-terrain-shocks-coils","thumbnail":{"url":"https:\/\/mlc9rw1fhsn0.i.optimole.com\/cb:61KV.55b\/w:1500\/h:1405\/q:mauto\/g:sm\/f:best\/https:\/\/overland-gear-guide.com\/wp-content\/uploads\/2025\/11\/81rsScuvM0L._AC_SL1500_.jpg","alt":"Land Rover All-Terrain Shocks & Coils"},"title":"Terrafirma 2\" Lift Kit | Land Rover Discovery 2 | Medium Load All-Terrain Shocks & Coils","postMeta":[],"author":{"name":"Overland Gear Guide","link":"https:\/\/overland-gear-guide.com\/author\/admin\/"},"date":"Nov 17, 2025","dateGMT":"2025-11-17 10:29:00","modifiedDate":"2025-11-17 10:37:45","modifiedDateGMT":"2025-11-17 10:37:45","commentCount":"3","commentStatus":"open","categories":{"coma":"","space":""},"taxonomies":{"product_brand":"<a href='https:\/\/overland-gear-guide.com\/brand\/terrafirma\/' rel='product_brand'>Terrafirma<\/a>","product_type":"<a href='https:\/\/overland-gear-guide.com\/?taxonomy=product_type&term=external' rel='product_type'>external<\/a>","product_visibility":"<a href='https:\/\/overland-gear-guide.com\/?taxonomy=product_visibility&term=rated-5' rel='product_visibility'>rated-5<\/a>","product_cat":"<a href='https:\/\/overland-gear-guide.com\/4wd-suspension\/' rel='product_cat'>4WD Suspension<\/a>","product_tag":"","product_shipping_class":""},"readTime":{"min":2,"sec":43},"status":"publish","excerpt":"Upgrade your Land Rover Discovery 2 with this Terrafirma 2\" lift kit, featuring medium load coil springs and durable All-Terrain Shocks & Coils for enhanced off-road performance and improved ride quality."},{"id":1311,"link":"https:\/\/overland-gear-guide.com\/land-rover-terrafirma-2inch-lift-kit\/","name":"land-rover-terrafirma-2inch-lift-kit","thumbnail":{"url":"https:\/\/mlc9rw1fhsn0.i.optimole.com\/cb:61KV.55b\/w:1336\/h:1500\/q:mauto\/g:sm\/f:best\/https:\/\/overland-gear-guide.com\/wp-content\/uploads\/2025\/11\/71pErJRgaLL._AC_SL1500_.jpg","alt":"Land Rover Terrafirma 2inch Lift Kit"},"title":"Land Rover Terrafirma 2inch Lift Kit | Defender 90, Discovery 1, Range Rover Classic | Medium All-Terrain Shocks & Coils","postMeta":[],"author":{"name":"Overland Gear Guide","link":"https:\/\/overland-gear-guide.com\/author\/admin\/"},"date":"Nov 17, 2025","dateGMT":"2025-11-17 09:46:20","modifiedDate":"2025-11-17 10:04:39","modifiedDateGMT":"2025-11-17 10:04:39","commentCount":"3","commentStatus":"open","categories":{"coma":"","space":""},"taxonomies":{"product_brand":"<a href='https:\/\/overland-gear-guide.com\/brand\/terrafirma\/' rel='product_brand'>Terrafirma<\/a>","product_type":"<a href='https:\/\/overland-gear-guide.com\/?taxonomy=product_type&term=external' rel='product_type'>external<\/a>","product_visibility":"<a href='https:\/\/overland-gear-guide.com\/?taxonomy=product_visibility&term=rated-5' rel='product_visibility'>rated-5<\/a>","product_cat":"<a href='https:\/\/overland-gear-guide.com\/4wd-suspension\/' rel='product_cat'>4WD Suspension<\/a>","product_tag":"<a href='https:\/\/overland-gear-guide.com\/product-tag\/2inch-lift-kit\/' rel='product_tag'>2inch Lift Kit<\/a><a href='https:\/\/overland-gear-guide.com\/product-tag\/all-terrain-suspension\/' rel='product_tag'>All-Terrain Suspension<\/a><a href='https:\/\/overland-gear-guide.com\/product-tag\/defender-90\/' rel='product_tag'>Defender 90<\/a><a href='https:\/\/overland-gear-guide.com\/product-tag\/discovery-1\/' rel='product_tag'>Discovery 1<\/a><a href='https:\/\/overland-gear-guide.com\/product-tag\/land-rover\/' rel='product_tag'>Land Rover<\/a><a href='https:\/\/overland-gear-guide.com\/product-tag\/off-road-upgrade\/' rel='product_tag'>Off-Road Upgrade<\/a><a href='https:\/\/overland-gear-guide.com\/product-tag\/range-rover-classic\/' rel='product_tag'>Range Rover Classic<\/a><a href='https:\/\/overland-gear-guide.com\/product-tag\/terrafirma\/' rel='product_tag'>Terrafirma<\/a>","product_shipping_class":""},"readTime":{"min":3,"sec":5},"status":"publish","excerpt":"Upgrade your Land Rover Defender 90, Discovery 1, or Range Rover Classic with the Terrafirma TF202 2\" Medium All-Terrain Suspension Kit for enhanced off-road capability and on-road comfort."},{"id":1306,"link":"https:\/\/overland-gear-guide.com\/wulf-3inch-lift-kit-for-jeep-wrangler\/","name":"wulf-3inch-lift-kit-for-jeep-wrangler","thumbnail":{"url":"https:\/\/mlc9rw1fhsn0.i.optimole.com\/cb:61KV.55b\/w:1500\/h:1470\/q:mauto\/g:sm\/f:best\/https:\/\/overland-gear-guide.com\/wp-content\/uploads\/2025\/11\/71kSUY-uMPL._AC_SL1500_.jpg","alt":"Wulf 3inch Lift Kit"},"title":"Wulf 3inch Lift Kit for 2018-2024 Jeep Wrangler JL - Fox 2.0 Shocks","postMeta":[],"author":{"name":"Overland Gear Guide","link":"https:\/\/overland-gear-guide.com\/author\/admin\/"},"date":"Nov 17, 2025","dateGMT":"2025-11-17 09:23:04","modifiedDate":"2025-11-17 10:05:20","modifiedDateGMT":"2025-11-17 10:05:20","commentCount":"1","commentStatus":"open","categories":{"coma":"","space":""},"taxonomies":{"product_brand":"<a href='https:\/\/overland-gear-guide.com\/brand\/wulf-suspension\/' rel='product_brand'>Wulf Suspension<\/a>","product_type":"<a href='https:\/\/overland-gear-guide.com\/?taxonomy=product_type&term=external' rel='product_type'>external<\/a>","product_visibility":"","product_cat":"<a href='https:\/\/overland-gear-guide.com\/4wd-suspension\/' rel='product_cat'>4WD Suspension<\/a>","product_tag":"<a href='https:\/\/overland-gear-guide.com\/product-tag\/2018-2024-jeep\/' rel='product_tag'>2018-2024 Jeep<\/a><a href='https:\/\/overland-gear-guide.com\/product-tag\/3inch-lift\/' rel='product_tag'>3inch lift<\/a><a href='https:\/\/overland-gear-guide.com\/product-tag\/4x4-upgrades\/' rel='product_tag'>4x4 upgrades<\/a><a href='https:\/\/overland-gear-guide.com\/product-tag\/fox-2-0-shocks\/' rel='product_tag'>Fox 2.0 shocks<\/a><a href='https:\/\/overland-gear-guide.com\/product-tag\/jeep-accessories\/' rel='product_tag'>Jeep accessories<\/a><a href='https:\/\/overland-gear-guide.com\/product-tag\/jeep-wrangler-jl\/' rel='product_tag'>Jeep Wrangler JL<\/a><a href='https:\/\/overland-gear-guide.com\/product-tag\/off-road-performance\/' rel='product_tag'>Off-Road Performance<\/a><a href='https:\/\/overland-gear-guide.com\/product-tag\/off-road-suspension\/' rel='product_tag'>off-road suspension<\/a><a href='https:\/\/overland-gear-guide.com\/product-tag\/suspension-upgrade\/' rel='product_tag'>suspension upgrade<\/a><a href='https:\/\/overland-gear-guide.com\/product-tag\/wulf-lift-kit\/' rel='product_tag'>Wulf lift kit<\/a>","product_shipping_class":""},"readTime":{"min":2,"sec":51},"status":"publish","excerpt":"Unlock the full potential of your 2018-2024 Jeep Wrangler JL with the Wulf 3inch Lift Kit and Fox 2.0 shocks for unmatched off-road performance."}]
Overland Gear Guide: Your trusted source for expert 4×4 gear, overlanding gear reviews, and adventure inspiration.
