OPENROAD 270 Awning Side Walls — In-Depth Review

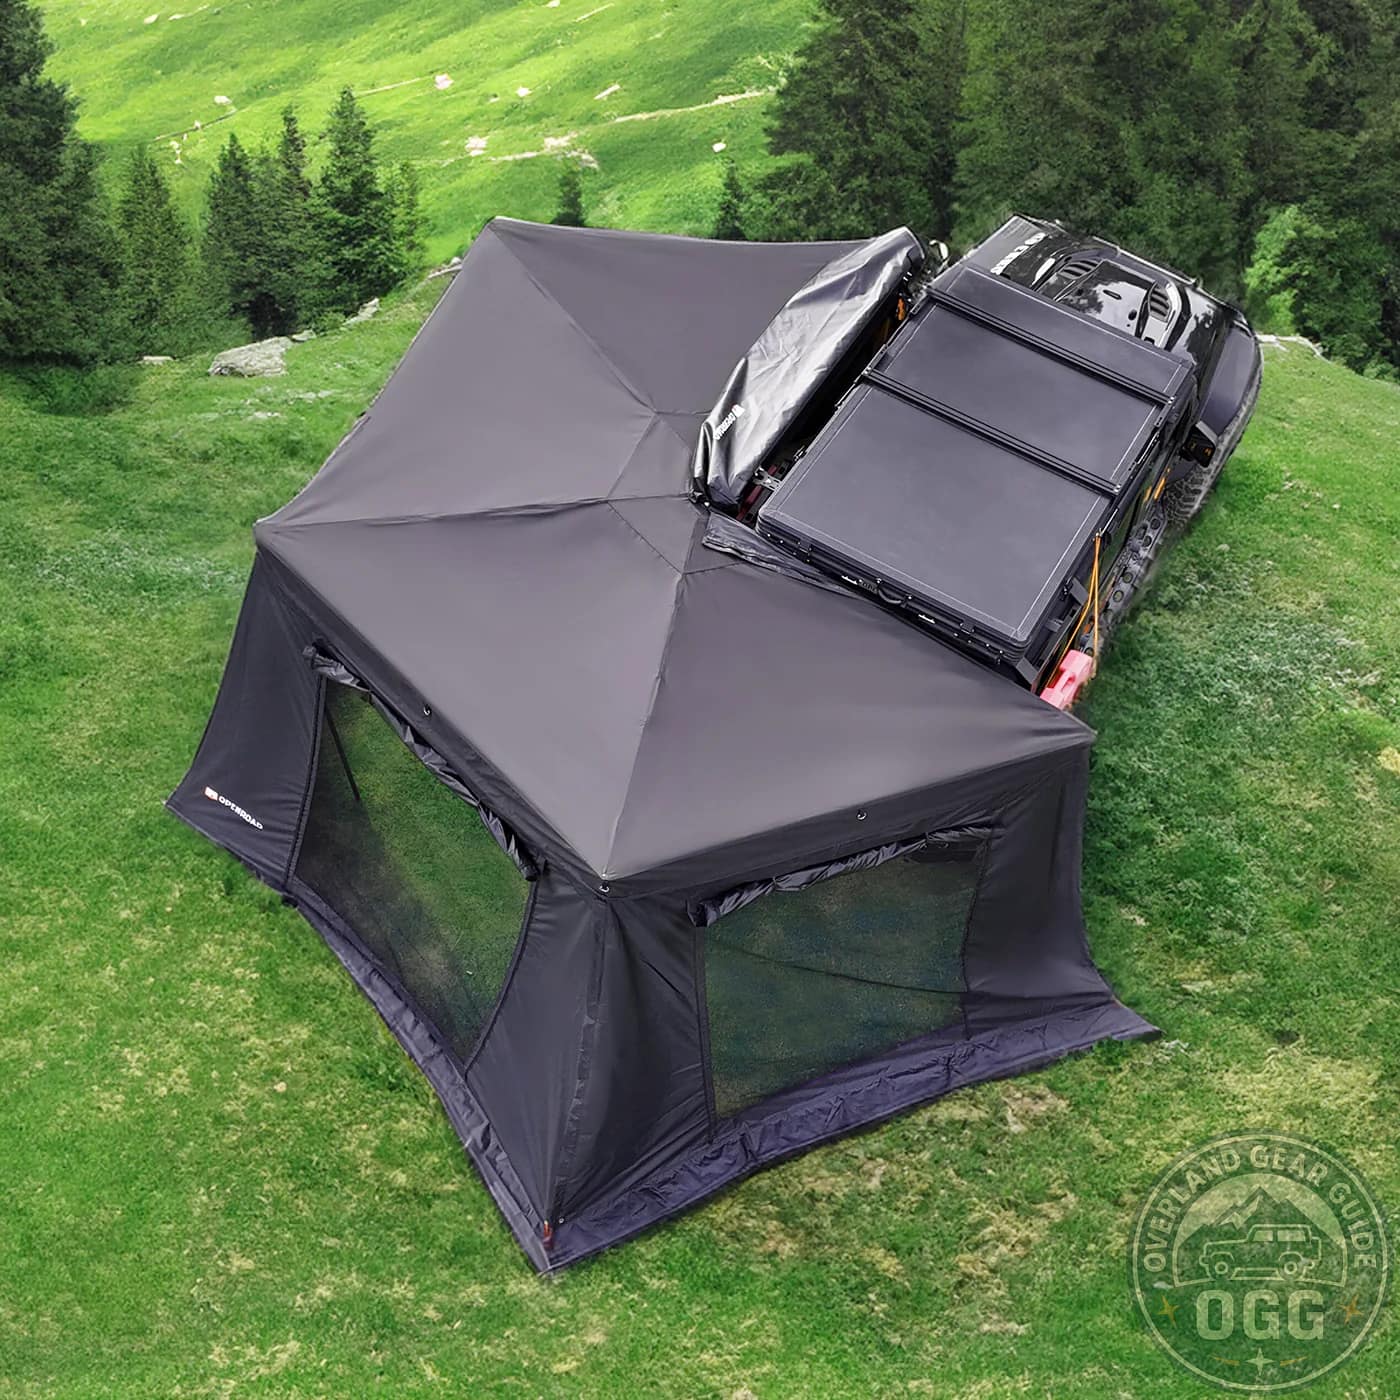
We turned a freestanding 270° awning into a proper living space in minutes. Below: setup method, wind strategy, rain run-off, privacy wins, and whether you should buy the USA, EU, or AU kit.


What’s different about these side walls?
Full-length zippers → stronger, faster joins
Rather than “magic tape,” the OPENROAD panels zip together around the perimeter. Zippers resist peel-off in wind and wet conditions and keep alignment cleaner over time.
Double-layer doors & windows → airflow without the soak
Each opening has an inner mesh for bugs + cross-breeze and an outer layer that blocks rain and sun. You can cook through squalls and still keep visibility/privacy as needed.
Smart anchoring → composed in gusts
Stake corners first, add mid-panel stakes, and pre-rig wind ropes before it howls. Tensioned awning struts + tied panels = far less flapping and better door control.
Field results: weather, wind & livability
What worked
- Rain run-off: Pitch one panel a touch lower to gutter water away from the main entry.
- Condensation management: Crack windward mesh + lee door for silent cross-flow.
- Cooking workflow: Mesh on windward side, half-open door downwind; keep a mud mat at entry.
- Privacy: Instant changing room / kids’ corner / cot space with flexible door placement.
Watch-outs
- Any full enclosure can fog—use the mesh frequently.
- Take the extra 2 minutes for mid-panel stakes in gusts.
- Dry the walls after packing wet to avoid funk/mildew.
Specs & compatibility (at-a-glance)
| Connection | Full-length perimeter zippers between panels |
|---|---|
| Openings | Outer rain/sun layer + inner mesh on each door/window |
| Use case | Pairs with OPENROAD freestanding 270° awning to form an enclosed room |
| Anchoring | Corner + mid-panel stake points, wind ropes included |
| Regions | USA / EU / AU storefronts with equivalent design intent |
Setup: our fast, clean method
- Deploy and tension your 270 awning as normal.
- Zip the hinge-side panel first to set alignment, then walk the zipper clockwise.
- Stake corners first, then add mid-panel stakes; rig wind ropes early.
- Choose door orientation (toward camp or away from wind) and crack opposite mesh for cross-flow.
- In heavy rain, guy one edge slightly lower to route run-off away from entries.
Who should (and shouldn’t) buy these
Great for
- Families needing privacy for changing/sleep.
- Basecamps of 2+ nights where livability matters.
- Cold-morning coffee crews who hate wind-chill.
- Rainy-climate travelers who still want to cook outside.
Maybe skip if
- You move camp multiple times per day.
- You only day-trip for lunch shade and leave quickly.
- You prefer ultralight tarp solutions with zero walls.
Disclosure: Some links may be affiliate. If you purchase, we may earn a small commission at no extra cost to you.
FAQ — Quick Answers
Will these walls fit other 270° awnings?
How do I reduce wind flap at night?
Condensation tips?
Packing wet?
© Overland Gear Guide — Tested in the field by real overlanders.


