Don’t Get Stuck! Pro Tips for Navigating Deep Ruts
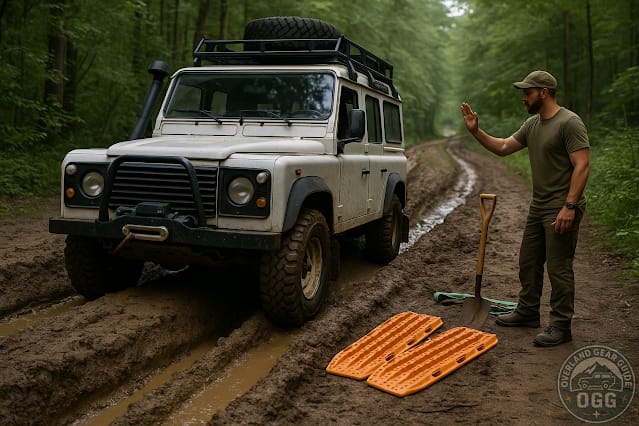
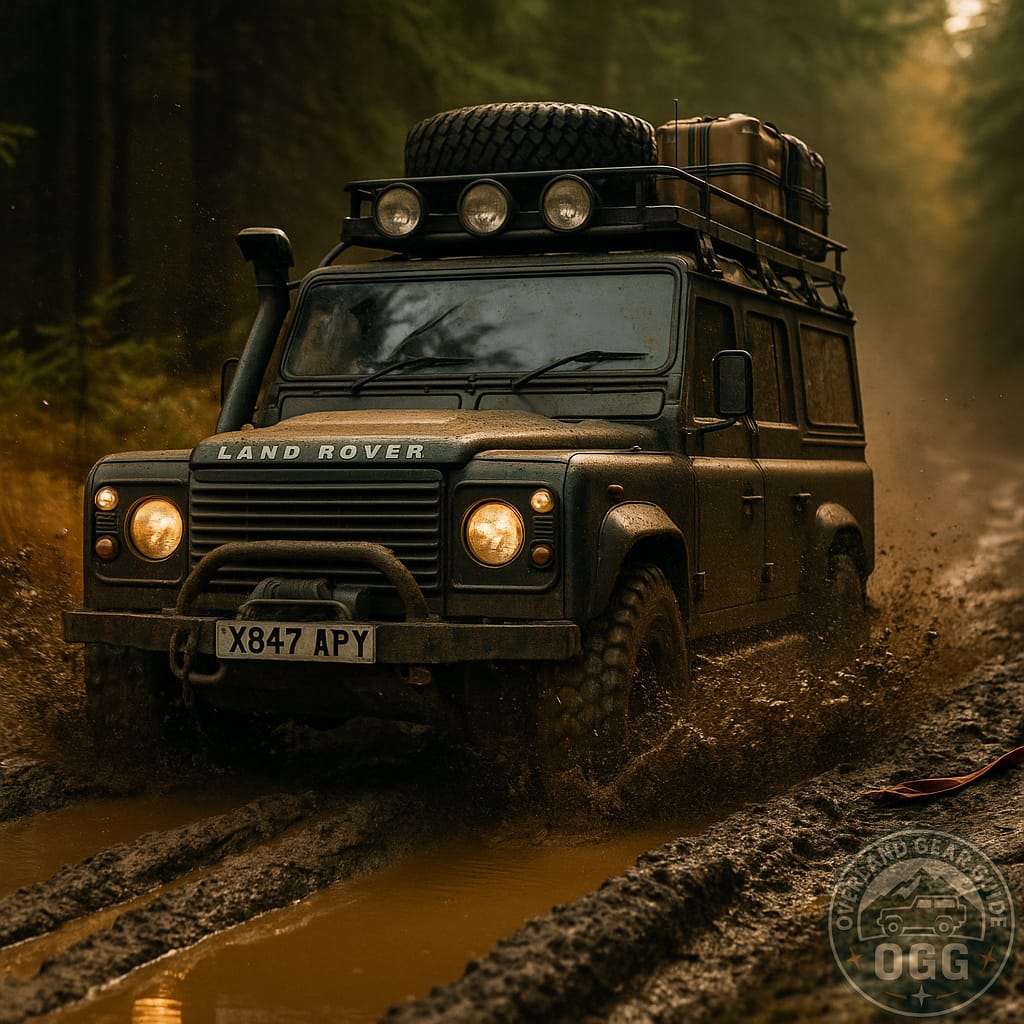
Deep ruts are where rigs get tippy, diffs get hung, and egos get humble. This guide breaks down how to choose between straddling and dropping in, why you often steer into the rut wall, when to use a spotter, and how to safely recover a high-centered vehicle—without turning ruts into canyons.
Understand what the ruts are telling you
- Fresh, shiny, deep: Soft base; expect sloughing walls and sticky clay. Plan to drop one side and ride the high crown for cross-axle traction.
- Old, dry, hard-edged: Hardpan below; straddling is viable if your track width fits. Beware fall-in when the crown crumbles.
- Offset ruts: One deep, one shallow = natural off-camber. Choose the orientation that keeps your heavy side uphill if possible (fuel tank, drawers, rooftop tent).
- Exit lip: The most common hang-up. If it’s undercut, pre-build a small ramp with rocks/branches or place traction boards.
Vehicle setup (2–5 minutes)
- Air down: All-terrains 18–22 psi; mud-terrains 16–20 psi; heavy rigs +2–4 psi. Lower for slow technical moves; watch the beads.
- 4WD & gearing: Use 4L for control. Autos: manual mode if available; avoid shifts on the lip.
- Lockers: Use to start/finish a climb—unlock before tight turns to avoid lateral push into rut walls.
- Cabin prep: Stow loose gear; windows down; radios on a common channel.
Driving technique: straddle vs. drop-in
Option A — Straddle (best when ruts are shallow/firm)
- Keep both tires on the edges (the crown). Think balance beam: small, smooth steering corrections.
- If a tire starts to fall in, steer slightly into the fall to re-load the upper tire and climb back—don’t yank the wheel.
- Avoid braking on the crown; use engine braking and left-foot feathering to keep the chassis settled.
Option B — Drop one side in (best when ruts are deep/soft)
- Place the downhill tires in the rut; keep uphill tires on the crown for cross-axle traction.
- Steer into the rut wall (uphill) with tiny inputs to maintain sidewall support and prevent sliding down.
- Keep a crawling pace; steady low throttle. If you spin, pause—reset the line or air down 2–4 psi.
Spotter playbook (short and standard)
- Position: Spotter stands uphill, just ahead and to the driver’s side where hands remain visible.
- Signals: STOP (arms X), DRIVER/PASSENGER (point low + wave), STRAIGHT (hands parallel), DOWN SLOW (palms down).
- One instruction at a time: “Driver… hold… forward.” No chatter from bystanders.
What the spotter watches
- Front tires riding the crown/wall as planned.
- Door sills/steps near the rut edge—call “HOLD” early.
- Diff pumpkins approaching the exit lip—prep a board/stack.
Off-camber risks & how to manage them
- Keep inputs micro. Sudden steering or braking can slide the high side downhill.
- Reduce roof mass before trips (water crates, boxes) to lower the center of gravity.
- Pick the uphill line that minimizes lean even if it’s longer.
- Feels sketchy? Back out straight and reassess. Pride is cheaper than bodywork.
High-center (belly-hung) recovery — safe methods
- Stop early. If both axles unload, you’re teetering on the belly/skids.
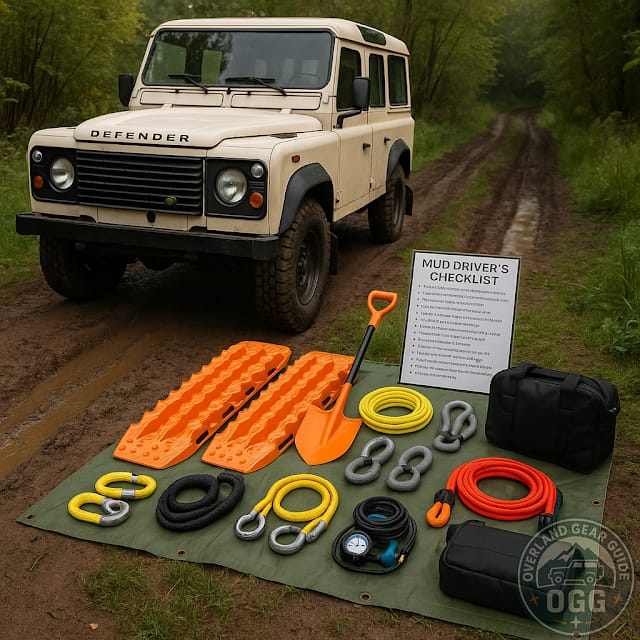
- Dig and pack: Shovel out under the belly/diffs; build ramps under the tires with rocks/boards.
- Boards: Slide traction boards tight under the leading tire edges; idle onto them in 1st-low.
- Controlled tow: Use a tow strap for a gentle, straight pull from a rated point; damper mid-line; clear the zone.
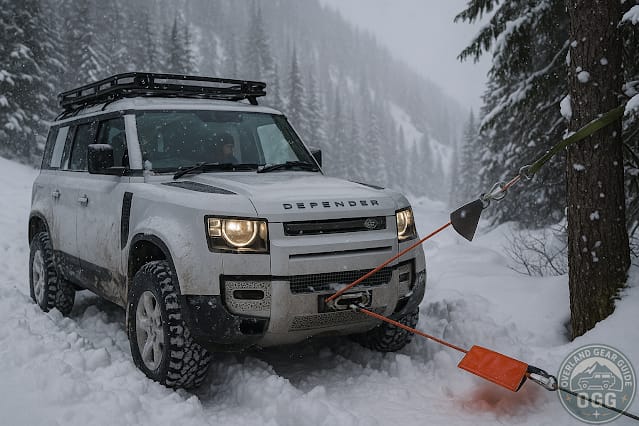
- Winch if needed: Tree saver on anchor, straight pull if possible; snatch block to correct side pull; short spools, reassess each foot.
- Hi-Lift (advanced): Only with training. Lift a corner to pack material beneath; pad the base; keep clear of the handle arc.
Three ways to recover from deep ruts (choose the least risky first)
1) Dig + Boards (lowest risk, fastest)
- Use when: You stopped early, tires still touch, exit lip is the issue.
- How: Dig in front of tires & under diff. Pack sticks/rocks, then shove boards tight to the tread. Idle out in 1st-low.
- Why: Raises the tire and provides a firm ramp; prevents trail damage vs. throttle-digging.
2) Controlled Tow (steady pull)
- Use when: Boards aren’t enough or you’re lightly high-centered.
- How: Rated tow strap & points; damper; wide exclusion zone. Smooth pull on a “3-2-1—pull” count.
- Notes: Wheels straight; stuck rig adds gentle drive; re-set every few feet.
3) Winch Extraction (most control)
- Use when: Poor angle, deep/soft ruts, or precision required.
- How: Tree saver → shackle → thimble; damper mid-line. Snatch block to correct line/halve load. Short spools; rebuild ramps as you go.
- Safety: Everyone 1.5× line length away, off to sides. Gloves on; never straddle lines.
Practice drills (10–20 min each)
Straddle balance
- Use two shallow ruts. Keep both tires on crowns at walking pace.
- If a wheel slips, steer slightly into the slip to climb out.
Drop-in control
- Place downhill tires in the rut, uphill tires on the crown.
- Tiny “into the wall” inputs to maintain support while crawling.
Exit-lip prep
- Build a small ramp with sticks/rocks; repeat with boards.
- Compare throttle needed; note how prep reduces wheelspin.
Pre-rut checklist
- Walk the section; confirm exit lip condition.
- Set 4L, air down; agree on spotter signals.
- Decide: Straddle vs. Drop-in. Stage boards within reach.
Common mistakes
- Big steering/brake inputs on the crown → fall-in.
- Lockers left on for turning → push into the wall.
- Charging the exit lip → bounce, dig, or high-center.
Tread Lightly
- Don’t widen ruts; build ramps instead of throttle-digging.
- Avoid saturated trails that can’t support vehicles.
- Leave the obstacle better than you found it.
Recommended gear for rutted trails
Swap links/images as you like. Buttons include proper rel="nofollow sponsored noopener noreferrer".

Traction Boards (Pair)
Create ramps at the exit lip; quickest fix for high-center risk.
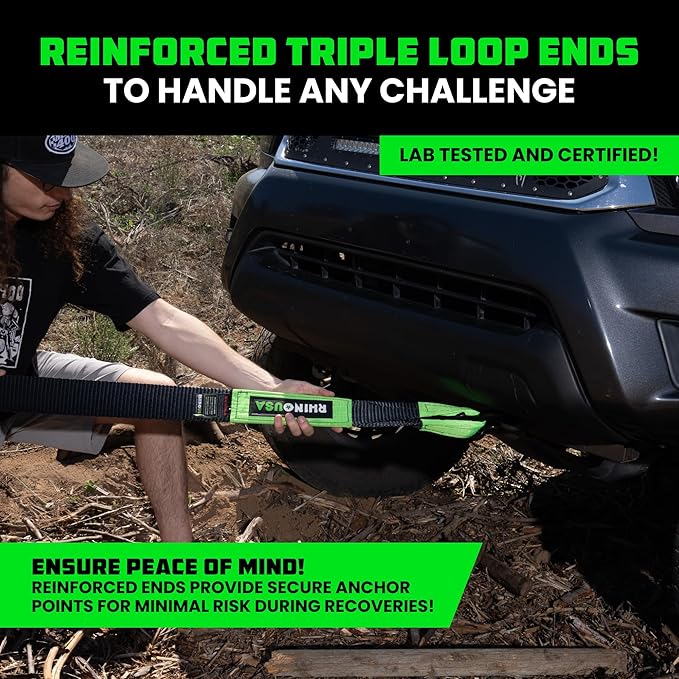
Rated Tow Strap
For controlled pulls when you’re belly-hung; no metal hooks.

Kinetic Recovery Rope
Gentle snatch for deep, soft exits when a steady pull isn’t enough.

Soft Shackles (Rated)
Lighter/safer than steel for most rigging; great with receivers.

12k Synthetic Rope Winch
Plan-B for nasty exits; pair with tree saver & damper.
Disclosure: Some links/images above go to Amazon. As an Amazon Associate we may earn from qualifying purchases—this never affects our editorial verdict.
